 SnapPress
WordPress Photography Workflow: Camera to Post in 5 Minutes
The short version: a fast WordPress photography workflow runs in four steps — (1) shoot and quick-edit on your phone (2 min), (2) batch upload to your Media Library (30 sec), (3) draft the post (2 min), (4) review and publish (30 sec). Total: about five minutes, no desktop required.
Photography and WordPress go hand in hand. Whether you run a travel blog, a food site, a real estate listing page, or a personal portfolio, the cycle is always the same: shoot, get it onto your site, write something around it, publish. The slow part is almost always "get it onto your site."
Below: a repeatable workflow you can run entirely from your phone, in the field. If your current process takes 30 minutes, this cuts it to about five.
Why Your Current Workflow Is Probably Too Slow
For a lot of people, the "workflow" looks like this:
- Shoot photos on your phone (or camera, then transfer to phone)
- Get home, sit at your computer
- Transfer photos from phone to computer (AirDrop, USB, email, cloud sync)
- Edit photos on desktop (Lightroom, Photoshop, etc.)
- Export for web (resize, compress)
- Open WordPress admin in a browser
- Upload images one by one (or drag a batch into the Media Library)
- Create a new post, insert images, write content
- Publish
That's nine steps, and steps 2 through 7 are pure friction. They don't add creative value — they're just logistics. On a busy day, the whole thing can take 30 minutes or more, and the gap between shooting and publishing kills your momentum. Sometimes you just never get around to posting at all.
The fix cuts that down to four steps you can do entirely from your phone, in the field, in five minutes or less.
The 5-Minute Workflow: Step by Step
Step 1: Shoot and Quick-Edit on Your Phone (2 Minutes)
Modern smartphone cameras are genuinely good, and mobile editing apps have caught up with desktop tools for most web-publishing needs. You don't need Lightroom Classic for a blog post image.
Recommended mobile editing apps
- Lightroom Mobile (free with Adobe account) offers professional-grade adjustments, presets, and batch editing. If you already use Lightroom on desktop, your presets sync automatically.
- Snapseed (free) is Google's editing app — great for quick fixes, with excellent selective adjustments and a clean interface.
- VSCO (free with premium tier) is popular for its film-style presets. Good for keeping a consistent visual style across your blog.
- Apple Photos and Google Photos have built-in editing that's surprisingly capable for basic adjustments — exposure, contrast, cropping.
Quick-edit tips for web images
- Crop to your blog's standard aspect ratio (16:9 for headers, 4:3 or 3:2 for in-content images)
- Adjust exposure and white balance — these make the biggest visual difference with the least effort
- Skip heavy retouching for blog posts; save that for portfolio-grade work
- If you use Lightroom Mobile, create a "Blog Export" preset that applies your standard adjustments in one tap
The goal is "good enough for the web," not "gallery-print quality." Most readers are looking at your images on a phone screen 400 pixels wide. Perfection is the enemy of publishing.
Step 2: Batch Upload to WordPress (30 Seconds)
This is the step where most workflows fall apart. Getting photos from your camera roll to your WordPress Media Library should take seconds, not minutes.
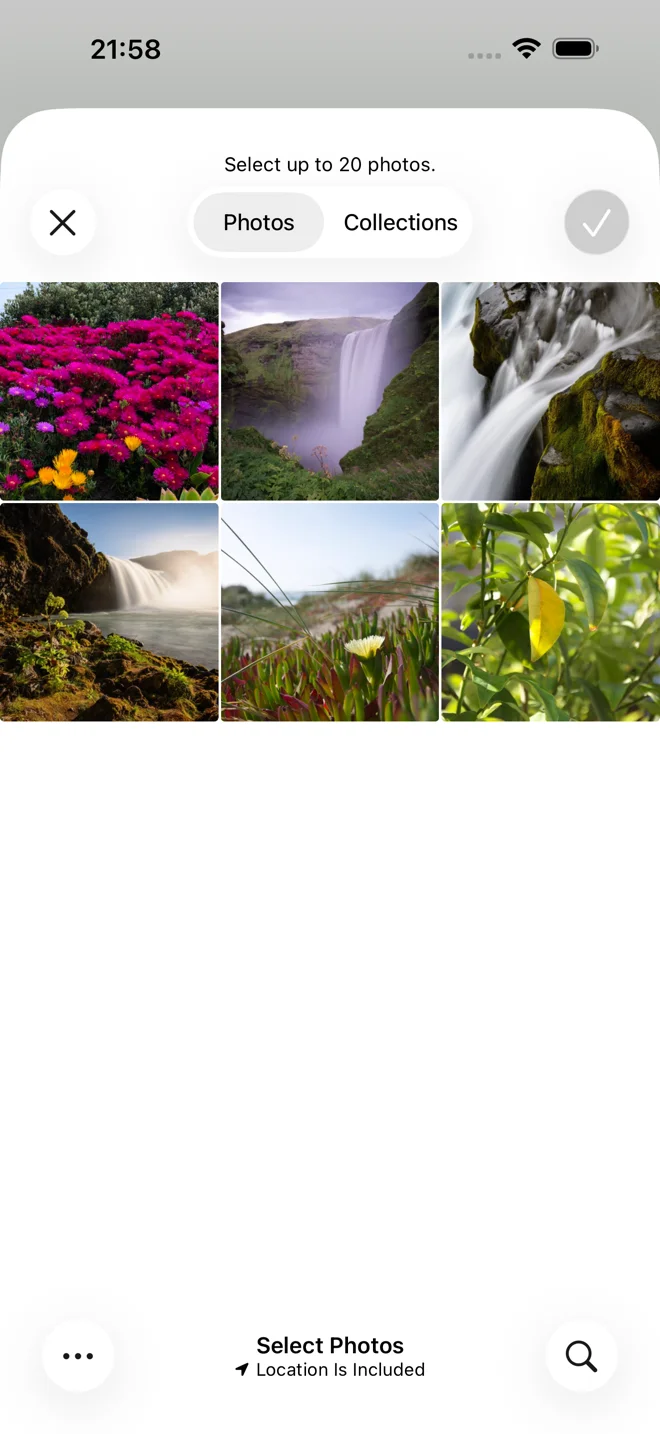
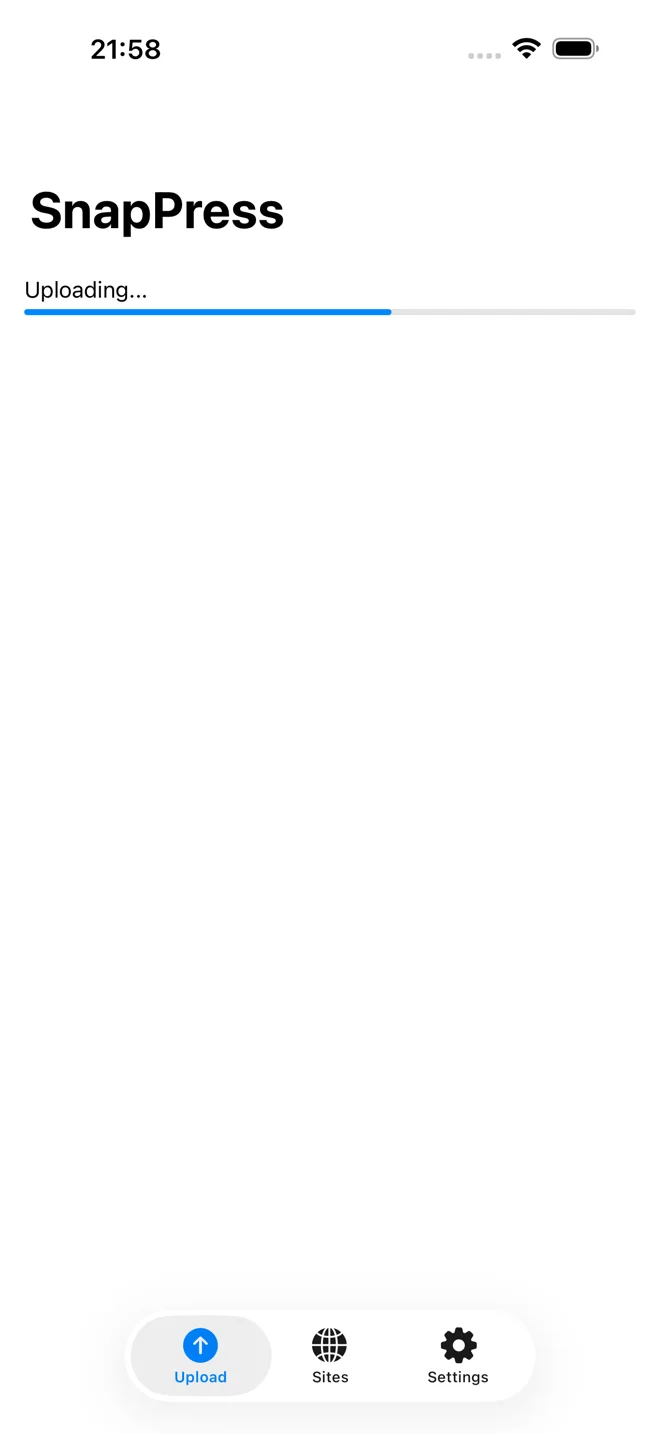
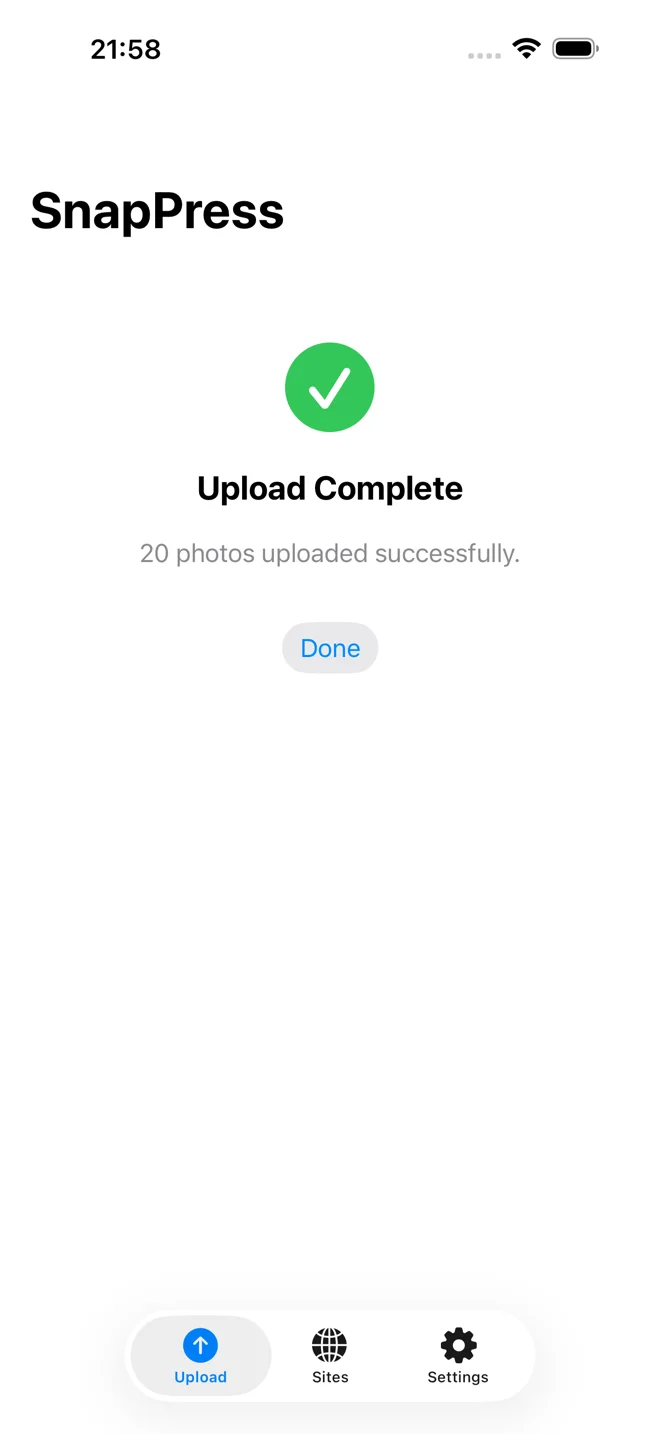
The fastest approach we've found is a dedicated upload app like SnapPress that talks directly to your WordPress site's REST API. Setup is one-time: install a companion plugin, scan a QR code, and you're connected. After that, uploading is three taps: open the app, select up to 20 photos, hit upload.
If you're already in your camera roll or editing app, SnapPress's Share Extension lets you select images, tap share, choose SnapPress, and upload without opening the app separately. This comes in handy when you just finished editing in Lightroom Mobile and want to send the exports straight to WordPress. If you're pushing large batches, check out our notes on the iOS Share Extension memory limits.
For a detailed comparison of upload tools, see our comparison of the 5 best WordPress photo upload apps. The SnapPress Connect plugin setup guide walks through the one-time pairing. Site owners who want to avoid Jetpack can read how to upload photos to WordPress without Jetpack.
Step 3: Create the Post (2 Minutes)
With your images already in the Media Library, creating the post itself is straightforward. You've got two good options:
WordPress Mobile App
Open the WordPress app, create a new post, and add your images from the Media Library. Since they're already uploaded, you don't have to wait around — just insert them. Write your text, add a title, set categories and tags, done.
Desktop Later (Hybrid Approach)
If you prefer writing on a full keyboard, upload the photos from your phone now and write the post later at your computer. The images will be waiting in your Media Library. This hybrid approach works well because it separates the time-sensitive part (uploading photos while they're fresh) from the part that can wait (writing).
Post creation tips
- Use a consistent post template. If every blog post follows the same structure (header image, intro, gallery, conclusion), you can assemble posts much faster
- Write alt text for every image. Takes a few seconds per image, and it matters for both SEO and accessibility
- Set a featured image. Most themes use this for thumbnails and social sharing previews
- Draft first, polish later. Get the structure right on mobile, then refine the copy on desktop if needed
Step 4: Review and Publish (30 Seconds)
Preview the post, make sure images display correctly in your theme, check the featured image is set, verify the permalink is clean, and hit publish. If you're running a caching plugin, the new post should be live on your site within seconds.
Workflow Variations for Different Photography Niches
Travel Bloggers
Travel photography has a unique constraint: you're often working with slow or unreliable internet. Adapt like this:
- Resize images before uploading. Export at 2000px wide max from your editing app — this dramatically reduces file sizes and upload times on slow connections.
- Upload in batches throughout the day instead of saving everything for one big upload at the end. Five or ten images during a coffee break, another batch at lunch, etc.
- Draft posts with placeholder text. Get the images up and the basic structure in place while the day is fresh, then write the full narrative later when you have better connectivity.
- Use the hotel Wi-Fi. A lot of travelers try to upload over cellular data when they could just wait 30 minutes for a much faster connection.
- If you shoot in HEIC format on iPhone, see handling HEIC photos on WordPress for conversion tips before upload.
Food Bloggers
Food photography usually happens in controlled environments (kitchens, restaurants) with reliable connectivity. Your optimization focus should be on consistency and speed:
- Photograph multiple recipes in one session, then upload and draft all the posts in sequence
- If your shots always look similar, use consistent lighting presets so editing is faster
- Shoot both square and landscape versions: square crops for social media thumbnails, landscape for blog headers. You can upload both at once.
- Include process shots. Readers love step-by-step cooking photos — upload the entire sequence in order so you can insert them sequentially in your post.
Real Estate and Product Photography
These workflows involve high volumes of similar images that need to get online fast. Time is literally money.
- Shoot in order: exterior, entryway, living room, kitchen, bedrooms, bathrooms. Uploading in order means less sorting later.
- Keep editing minimal. Straighten horizontals, adjust exposure, move on. Real estate photos don't need creative editing; they need to be accurate and fast.
- Upload from the property. Listing photos lose value the longer they take to post — get them up while you're still on-site.
- If you use WooCommerce for product listings, see our guide to bulk uploading WooCommerce product photos for tips on that specific workflow.
Event Photographers
Events create urgency. Clients, attendees, and social media audiences all want photos fast.
- During the event, pick 5-10 of your best shots and push them to WordPress during a break. You can publish a quick "event in progress" post while it's still happening.
- Upload the full gallery afterward in multiple batches. With a batch upload tool, even 100 photos only takes 5 rounds of 20.
- If you need to protect your work, apply watermarks on your phone using an app like eZy Watermark before the upload step.
Optimizing Images for WordPress Performance
Fast uploads are great, but if your images aren't optimized, they'll slow down your site for visitors. The checklist below balances quality with page speed:
Before Upload
- Export at no more than 2400px on the long edge. Very few WordPress themes display images wider than this, and most show them at 1200px or less.
- Use JPEG for photographs and PNG for graphics with text or transparency. If your setup supports WebP conversion (many optimization plugins do this automatically), you can upload JPEGs and let the server handle the rest.
- Use descriptive file names before uploading.
sunset-over-kyoto-temple.jpgis better for SEO thanIMG_4523.jpg. Some photographers batch-rename using their editing app's export settings.
After Upload (WordPress-Side)
- Install an image optimization plugin. ShortPixel, Imagify, or Smush will compress your uploads automatically without visible quality loss.
- Enable lazy loading. WordPress has built-in lazy loading since 5.5, but some themes override it. Make sure it's active.
- WordPress generates multiple sizes for each upload. Make sure your theme uses the
srcsetattribute so browsers load the appropriate size. - As your image library grows, keeping it organized saves significant time. Our complete guide to the WordPress Media Library covers organization strategies in detail.
Gear Recommendations for Mobile-First Photographers
You don't need expensive gear to make this workflow work, but a few inexpensive accessories can make a noticeable difference:
- A phone tripod or grip stabilizes your shots and reduces the need for editing. Peak Design's Mobile Tripod or the Joby GripTight are both solid choices under $50.
- A portable battery pack is essential — uploading and editing drain your battery fast. A 10,000mAh pack gives you a full extra day of shooting and uploading.
- Clip-on phone lenses from Moment add wide-angle or telephoto capability. Not essential, but useful for real estate and landscape photography.
- If you shoot with a dedicated camera, a Lightning/USB-C SD card reader lets you transfer photos to your phone without a computer. Apple and Anker both make reliable options.
Common Mistakes That Slow Down Your Workflow
After working with a lot of WordPress photographers, these are the bottlenecks we see most often:
Over-editing for the web
Spending 10 minutes fine-tuning an image that'll be displayed at 800px wide on a blog post isn't a good use of time. Save the meticulous editing for prints and portfolio pieces. For blog content, quick adjustments are usually enough.
Uploading at full camera resolution
A 48-megapixel phone photo is roughly 8000 × 6000 pixels and 15-20MB. Your WordPress theme probably displays it at 1200px wide. You're uploading 10× more data than needed, which wastes upload time, storage, and your visitors' bandwidth.
Not using batch uploads
Uploading photos one at a time through the WordPress admin is tedious and error-prone. If you regularly upload more than two or three images at once, a batch upload tool will save you real time every single day. For larger batches, see also our guide on bulk uploading images to WordPress from your phone.
Forgetting alt text
Alt text matters for accessibility and SEO. It takes five seconds per image but is easy to skip when you're in a rush. Make it a non-negotiable step in your workflow.
Not setting a featured image
Many WordPress themes use the featured image for social sharing previews, archive page thumbnails, and related post displays. Forget it, and your post looks broken in those contexts.
The Complete Workflow in Summary
- Take your photos. Focus on composition and lighting; minor exposure issues can be fixed in editing.
- Quick-edit on your phone: crop, adjust exposure and white balance, apply a preset if you have one. Export at web-appropriate resolution (max 2400px wide).
- Batch upload to WordPress using a dedicated tool to push your edited images directly to the Media Library. Should take less than 30 seconds.
- Insert the images (they're already in the Media Library), write your content, set alt text and a featured image, publish.
Total: about five minutes from the last shutter click to a live post. The exact time depends on how much you write and how many images you include, but the photo-handling portion (editing, uploading, inserting) should consistently take under three minutes once the workflow is second nature. For background on why this matters for one-person operations, see our note on the SnapPress v2 freemium launch and workflow philosophy.
Every time you transfer files between devices, convert formats, or navigate through admin pages, you're adding friction that doesn't improve the final product. A phone-first workflow with the right tools removes almost all of it.
Frequently Asked Questions
How long should a WordPress photography workflow take?
Around five minutes from the last shutter click to a published post. About two minutes for phone editing, 30 seconds for batch upload, two minutes to draft the post, and 30 seconds to review and publish.
Do I need a desktop computer to publish WordPress photo posts?
No. Modern smartphones handle shooting, editing, batch upload, and post creation. A phone-first workflow with a dedicated upload app like SnapPress lets you publish entirely from your phone in the field.
What is the fastest way to upload multiple photos to WordPress from a phone?
Use a dedicated upload app that connects to the WordPress REST API. SnapPress pushes up to 20 photos in one batch in around 10 seconds — versus one-by-one uploads through the admin, which can drag on for several minutes.
What image size should I export for WordPress blog posts?
No more than 2400px on the long edge. Most themes display at 1200px or less, so anything bigger just wastes upload time, storage, and bandwidth without looking any better.
Should I edit photos on my phone or on a computer for blogs?
For blog images displayed at 800-1200px wide, phone editing in Lightroom Mobile or Snapseed is plenty. Save desktop editing for portfolio prints. Quick tweaks to exposure, white balance, and crop cover most blog needs.
The missing piece in your photography workflow?
SnapPress handles Step 3: batch uploading up to 20 photos from your phone to WordPress in seconds. QR code setup, Share Extension, multi-site support. Free to start — $0.99/mo or $4.99 lifetime for unlimited uploads.
Two steps to start: install the free "SnapPress Connect" plugin on WordPress, then install the iPhone app and pair them with a QR code.
About the author

Founder & CEO, 37Design
Founder & CEO of 37Design, a web and AI consultancy based in Tokyo, Japan. Built SnapPress to eliminate the pain of uploading dozens of iPhone photos to WordPress — one by one.
37design.co.jp